
You want your Toyota Tacoma to stand out on the road and roads? Installing a 4-inch lift kit is the perfect way to modify and upgrade your powerful pickup.
From prepping the suspension to lifting it up, this comprehensive guide will ensure that you get the most out of your lift kit installation.
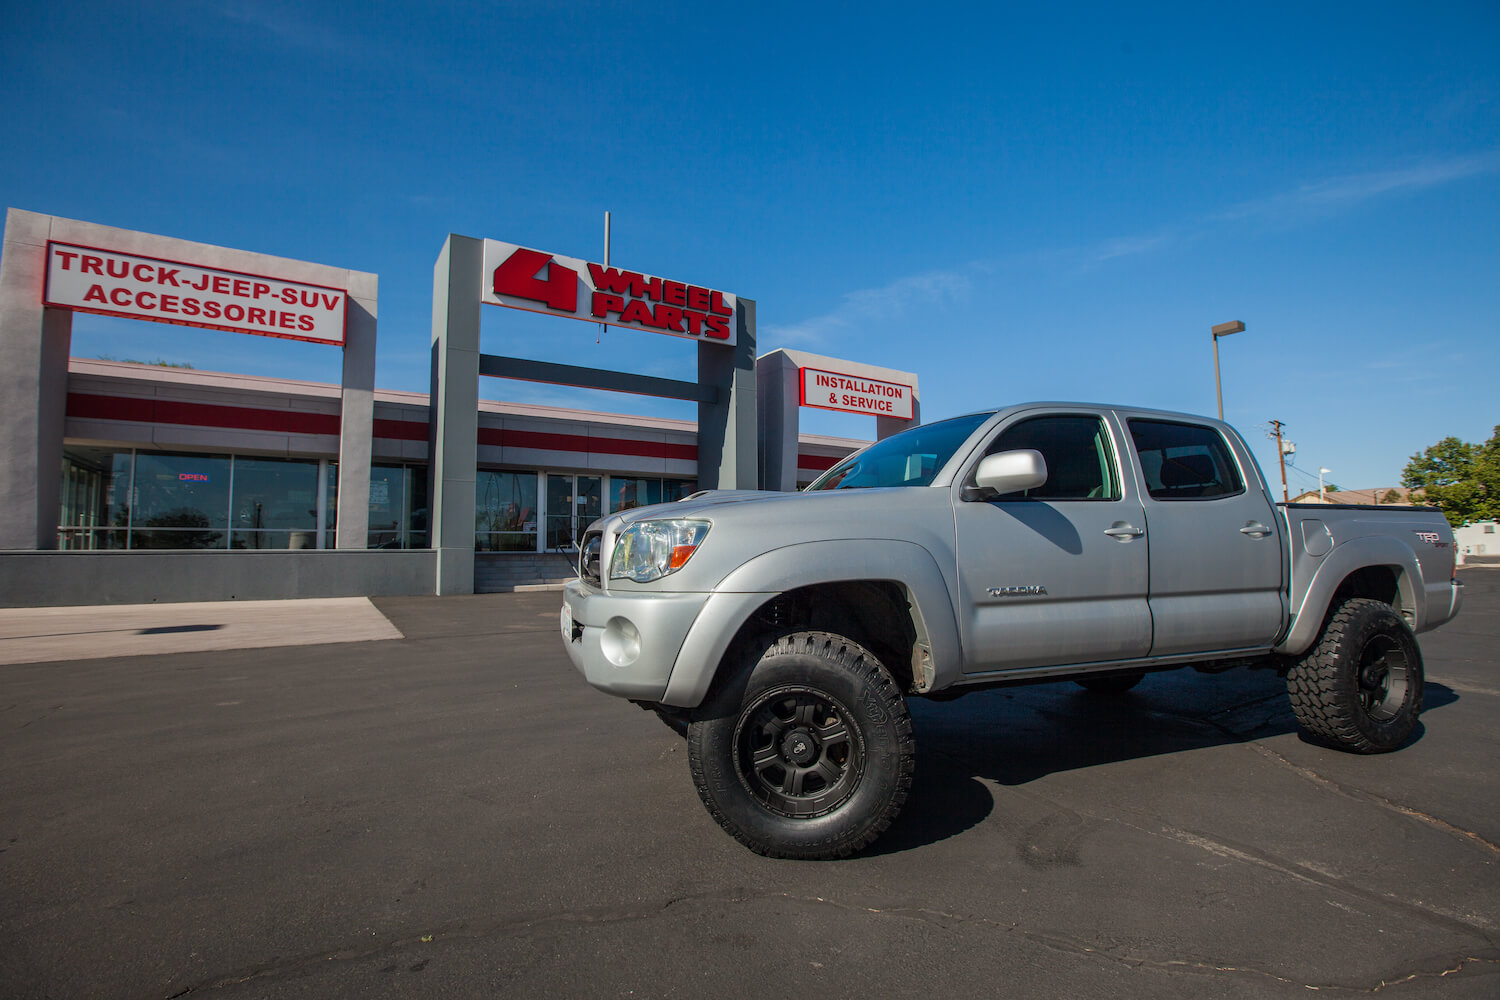
Installing a 4 inch lift kit on your Toyota Tacoma will provide it extra ground clearance and stability to tackle off-road challenges. It also makes room for larger tires which can give you improved performance and more grip while navigating rough terrain. The process of installing a 4 inch lift kit can seem daunting at first, but it is actually a straightforward job that anyone with basic mechanical skills can handle.

This guide will provide the step-by-step instructions you need to install a 4 inch suspension lift kit on your Toyota Tacoma. Before you begin, make sure that you purchase all the required tools, kits, and parts—which vary depending on your make and year. With the right information, skill, and preparation, you can safely put in a lift kit on your Toyota Tacoma in a few hours or less. Keep reading to get started!
Gathering necessary tools and equipment
Before proceeding with the installation, you need to gather all the necessary tools and equipment for the job. Make sure that you have a jack and jack stands, socket wrench set, hex key or Allen wrench set, torque wrench, utility knife, hammer and punch. You will also need pliers and a grinder with cutting discs or a drill with holes saws – depending on your configuration – to be able to make some holes in certain places.
Additionally, it is highly recommended that you wear safety goggles and protective coveralls when performing any lift installation.
Once you have all of your tools ready, it is time to begin installing your 4 inch lift kit on your Toyota Tacoma.
Examining the lift kit components and instructions
Before beginning the installation process of a 4-inch lift for your Toyota Tacoma, it is important to understand each component of the lift kit and read all instructions thoroughly. Failure to do this can result in incorrect installation or injury. Primarily, there will be: a set of adjustable coil spacers; four extended axle U-bolts; four strut or spacer and shock absorbers; four brake hose bracket extensions; two drop pitman arm assemblies and a pair of swaybar link extensions.
Depending on the specific kit chosen, other components such as drive line components and rear bump stops may also be included. Before beginning install, always refer to the instructions provided with your lift kit for detailed information about any special tools required for the job and verify that all parts specified in the instructions have been received. Create an organized workspace and lay out all lift kit components for easy access during installation.
Lifting the truck safely and securely
The first step to installing a 4-inch lift kit on your Toyota Tacoma is to ensure that you have all the necessary tools to make the job easier. You may need a power drill, lug nut removal socket, ratchet set, and lift stand. Once you have gathered all the tools and parts needed for installation, it’s time to begin lifting your truck safely and securely.
Begin by elevating the truck with a set of ramps. If you don’t have ramps, drive onto lawn mowers or 4×4 blocks that are rated for at least three times the weight of your vehicle. When placing objects under the tires, ensure they are level and secure before beginning any work. It is also imperative to use jack stands underneath your truck in case the ramps or blocks slip out from under it.
Using a jack or lift stand, raise one end of your truck until all four wheels are off the ground. Make sure that you support both sides simultaneously; this will prevent uneven shock absorber loading on just one side during installation and will provide greater structural integrity during repairs or maintenance applications. Once both sides of your Tacoma are securely stabilized, you can start work on installing your new lift kit components efficiently and effectively.
Removing Old Components
Before you begin installing your new 4-inch lift kit, you must remove the old components. This will vary depending on the model Tacoma and its accessories, but there are some common elements to be aware of.
If required, drain the radiator fluid to reduce the weight and make it easier to work around. If your Tacoma has an old lift kit installed, all components must be removed before the new kit can be put into place – this includes control arms, shock absorbers etc.
You will also need to remove any extra add-on components that are no longer usable with your new kit such as nerf bars or other aftermarket items. Finally, loosen all suspension components including track bar and U-bolts then mark them for reassembly before removal.
Removing wheels and tires
Before beginning the installation process for your 4-inch lift kit, it is important to safely remove the wheels and tires from your Toyota Tacoma. To do this, you will need a jack, special automotive jack stands and a lug wrench.
Securely support the Tacoma on jack stands at each of the vehicle’s four corners. Then, loosen and then remove each of the wheel lug nuts with your wrench. Finally, pull off each wheel from its corresponding hub and set aside. Be sure to keep all lug nuts in a safe place during installation as they will be needed upon completion.
Removing old shocks and struts
Before you install the new lift kit on your Toyota Tacoma, you need to remove the old shocks and struts. To remove the old shocks and struts, follow these steps:
- Disconnect your battery for safety.
- Raise your truck with a jack and support it on jack stands.
- Unfasten the upper strut nut with a wrench or ratchet and break loose the lower shock bolts with an impact gun if they are stuck.
- Once both of these nuts/bolts have been removed, the strut assembly can be removed from the vehicle by pulling outwards away from it while supporting its weight as you pull it out of its mounted position in the wheel well.
- After it’s out of its mounted position, separate the upper mount assembly from the strut by removing any fasteners that may be holding them together (usually 12mm nuts).
- Once all of this is completed, set aside both parts for now and proceed to removing struts/shocks on other side of vehicle in a similar manner when needed!
Removing old suspension components
Beginning with the process of removing your old suspension components, it is best to start on the driver’s side of the truck. The most important thing to remember is safety first! After parking your Toyota Tacoma on a flat surface, use jack stands to place it securely and firmly supported by jack stands at four points underneath the body. This will ensure that no part of the vehicle gets damaged during removal.
The job should begin with removing the tire, brake caliper and rotor for access to the lower control arm bolts. By using a ratchet wrench or 21mm socket and impact gun you can easily remove these bolts as they are usually between 30-50ft lb torque spec. After which, you’ll need to remove shock absorber bolts with a 15mm socket ratchet wrench or a 14-19mm socket and impact gun, along with removing and left tie rod end from the spindle.
The torsion bar cross member must be removed by taking off its 16mm nut, while sway bar brackets must be taken apart utilizing 18mm open-end wrench or ratchet wrench/impact gun; if your Tacoma has hub assemblies then their 18mm nuts have to be taken out as well using your 18 mm open-end wrench or ratchet wrench/impact gun.
Once these are removed you should see that all of your old components have been taken out from under the truck’s frame without issue!
III. Post-Installation Checklist
Once you have installed the lift kit on your Toyota Tacoma, it’s important to make sure everything is secured properly and functioning as expected. Here is a post-installation checklist you should use to ensure your vehicle is safe and ready to drive:
- Visually inspect all components for correct installation and make sure all hardware is tightened securely into place.
- With the vehicle on level ground, measure the ride height at all four corners of the truck and compare these measurements with the factory specifications. If necessary, adjust spring pre-load accordingly to reachthe ideal ride height.
- Check wheel alignment to make sure there’s no excessive “toe-in” or “toe-out” or camber angle out of specification after installation, as this can cause accelerated tire wear in addition to a variety of handling problems (pulling, vibration). It may be necessary for an alignment technician to reset camber after installing the lift kit if necessary.
- Inspect steering stabilizers for proper performance and operation by taking turns at speed in both directions while checking for play in the steering wheel—defective steering stabilizers can lead to uncontrollable steering conditions while driving at high speeds on rough terrain.
- Also check suspension shock absorbers/struts for proper operation as defective shocks can cause excessive body roll/ lean when entering or exiting turns and dips in roads at speed; tight turns are especially dangerous with faulty shocks since it’s easy for drivers to lose control if one side has failed before the other side rebounds from a turn exit traction point (think of tight S curves). Shock absorber seals may need replacing more often with larger lifts due to their size so look out for signs of leakage (oil stains) near shock mounting points from time time time (especially just after off roading sessions).
Checking for any loose components
Before you begin to install a 4 inch lift kit on your Toyota Tacoma, it’s important to check for any loose components. This is necessary as the increase in ride height will put more stress on the components, and can cause them to wear out or even break prematurely. Therefore, checking for any signs of a loose component should be done regularly. Once problems are found, they need to be addressed immediately.
Begin with checking the wheel assembly of your Tacoma and look for signs of rust or erosion that can affect its performance. In this process, remove the wheel hub caps and check their condition as well as the condition of the lug nuts that secure them onto the wheel assembly. Make sure all nuts are tightened securely without over-tightening which may cause damage to the wheel studs.

Next, inspect both top and bottom shock mounts for wear or damage and replace as necessary before installation of your lift kit begins. Finally, visually check all ball joints while selecting a good starting point; remember that each component will be adjusted in order to ensure proper ride heights and angles when installation is completed.
Regular maintenance for the lift kit
Once your 4 inch lift kit is installed, you will need to inspect all of the components for signs of wear. The suspension should be regularly checked for any signs of corrosion and any nuts and bolts should be tightened if needed.
The alignment of the axles should be checked regularly to ensure they are straight and adjusted correctly. The shocks should also be inspected for damage or leaks, as well as replaced when necessary.
Make sure that the steering components are properly lubricated as well so they can move freely while driving on rough terrain. Finally, all rubber bushings should be replaced or tightened when needed to maximize your stability while driving off-road.
Following these regular maintenance steps will help extend the life of your lift kit and keep it performing at its best.
Conclusion
Installing a 4” lift kit on your Toyota Tacoma is an exciting project that can provide essential clearance for off-road driving and total vehicle performance swagger. The vehicles steering dynamics may be negatively affected to some degree due to the additional suspension lift height. This should not diminish your enthusiasm for completing the installation as long as you take the time to understand and properly adjust your new 4” lift package components for the best overall performance before you hit the trails.
By using upgraded shocks, control arms, and coilovers, you can make sure that your Tacoma will provide a solid and confident ride both when exploring off-road terrains or during daily drives. You now have all the necessary information to install your own 4” lift kit correctly and safely. Good luck!
FAQ’s
Can you put a lift kit on a Toyota Tacoma?
Yes, you can put a lift kit on a Toyota Tacoma.
How do you put a Tacoma in 4 high?
To put a Tacoma in 4 high, you need to shift the transfer case lever into the 4H position.
What size lift looks best on a Tacoma?
The size of the lift that looks best on a Tacoma depends on personal preference and the intended use of the vehicle.
Can you install a lift kit by yourself?
It is possible to install a lift kit by yourself, but it is recommended to have a professional do it.
How much does it cost to install a 4in lift kit?
The cost of installing a 4in lift kit varies depending on the brand and type of kit, but it can range from $1,000 to $5,000.
How long does it take to install a lift kit on a Toyota Tacoma?
The time it takes to install a lift kit on a Toyota Tacoma varies depending on the type of kit and the experience of the installer, but it can take anywhere from 4 to 10 hours.
What is the maximum speed of Toyota Tacoma in 4×4?
The maximum speed of a Toyota Tacoma in 4×4 depends on the model and year, but it is generally around 55-60 mph.
How fast can a Tacoma go?
The top speed of a Toyota Tacoma depends on the model and year, but it is generally around 110-120 mph.
What are the disadvantages of a lift kit?
The disadvantages of a lift kit include decreased fuel efficiency, increased center of gravity, and potential suspension and steering issues.
What are the disadvantages of putting a lift kit on a truck?
The disadvantages of putting a lift kit on a truck include decreased stability, increased wind resistance, and potential damage to the drivetrain and suspension.
See Also-
- Best rotors for toyota tacoma 2023
- Best 4 inch lift kit for toyota tacoma 2023
- Best battery for toyota tacoma 2023
- Best headers for toyota tacoma 2023
- Best truck tent for toyota tacoma 2023