
Are you wondering how to replace the headers on your Honda Ridgeline? You don’t have to be an expert mechanic to install headers – this guide will show you how.
Learn the necessary tools, steps and tips for installing new headers on your Honda Ridgeline so you can get back on the road in no time.
Introduction: Headlight installation can be a daunting and time-consuming job for many vehicle owners, and installing headlights on your Honda Ridgeline is no exception. However, with the right tools, knowledge and some patience you can easily get this job done yourself in no time.
In this guide, you’ll learn everything you need to know about installing headlights on your Honda Ridgeline including what tools and supplies to use, how to disconnect and install the new lights, and helpful tips to ensure a quality installation.
By following these simple steps and best practices, you’ve got all the info needed to give your Ridgeline the upgraded headlight look it deserves.
Understanding headers
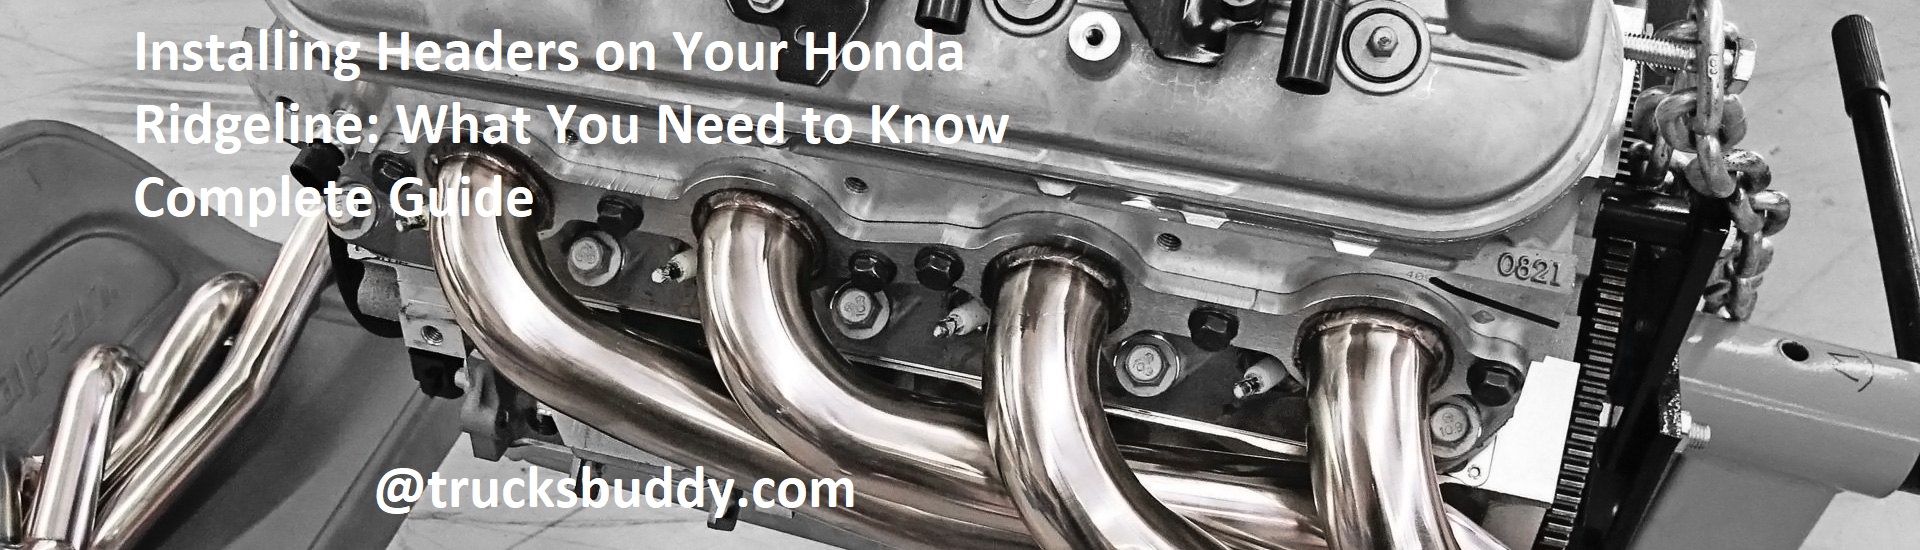
Headers are performance aftermarket exhaust components designed to increase engine efficiency. Installing headers on your Honda Ridgeline helps to improve your truck’s exhaust flow, providing enhanced power and torque while also allowing a more efficient release of engine heat. Before selecting headers for installation on your Ridgeline, it is important to familiarize yourself with the different parts, design features and installation methods.
The structure and design of headers are determined by various factors, including the size and shape of piping used in the system, as well as properly tuning back pressure within the exhaust system that can hinder emissions. Headers often come in many different styles and sizes that can further explain exhaust efficiency or have an application-specific purpose (such as standard 4-into-1 or 6-into-1 merging) which allows for higher peak horsepower gains without sacrificing torque power when working with larger displacement engines.
It is also important to understand how primary tube lengths affects exhaust flow when running a set of performance headers—longer primaries limit top end power, whereas shorter primaries target mid range torque gains. Furthermore, most aftermarket headers come with a full install kit that includes gaskets and hardware needed for installation. Additionally, you should be aware that certain states adhere to strict codes pertaining to legally installed aftermarket parts such as headers—be sure to check local laws to ensure compliance prior to purchasing any equipment or making any modifications.

Definition and function of headers
Headers are exhaust components used in a modified car or truck exhaust system. A header system replaces the factory-made exhaust manifold that came with your vehicle and directs the exhaust out of the engine. You will typically find headers on modified race cars and sport-oriented tuning systems, as their goal is to maximize power by allowing for smoother, less constricted airflow through the engine.
The main role of a header is to improve the scavenging effect of an engine’s exhaust gases. By allowing for better flow, more air can pass through quickly, resulting in increased power. This increased flow also reduces back pressure associated with stock manifolds, allowing for greater fuel efficiency and improved overall performance. Generally speaking, adding headers to your Honda Ridgeline should result in increased torque throughout the entire rev range and improved acceleration capabilities overall.
Types of headers available for Honda Ridgeline
When installing headers on your Honda Ridgeline, it is important to know what type of headers you are looking for. There are three types of headers that are available for the Honda Ridgeline: short tube, mid-length, and full length.
Short tube headers provide a performance advantage over the OEM exhaust manifold. Toward that end they are welded up from 16-gauge steel to draw out the most horsepower out of your engine. Short tube headers can help improve overall engine performance by providing greater exhaust flow than what is provided by the stock exhaust manifold. They also add quite a bit of sound to your vehicle’s exhaust note, making it louder and more aggressive sounding.
Mid-length headers deliver mid-range power and torque gains for milder performance increases over factory manifolds without compromising fuel economy or sacrificing any low end torque; these are especially advantageous if you don’t have any other modifications such as an exhaust system upgrade in place. Additionally these offer better underhood clearance space when compared with full length designs which can make them easier to install in certain applications.
Full length header systems provide a much more complete package compared to either short tube or mid-length designs bringing superior horsepower gains across the board; however they do require considerably more modifications than either of their counterparts due to longer primary tubing lengths along with heavier collector designs and construction materials used on most full length setups making them the least practical option in many cases when utilized onboard a Honda Ridgeline application.
Material used to make headers
The material used to make the headers is a very important consideration when it comes to selecting the right headers for your Honda Ridgeline. Mild steel is the most common material used and is ideal for most applications. However, if you are looking for more performance out of your vehicle, then it is worth noting that stainless steel headers tend to be better-performing since they create less back-pressure and produce less heat, allowing for more power output.
Titanium is also becoming a popular choice among those seeking maximum performance from their vehicle as it has excellent heat-resistant qualities, though it can be expensive. Lastly, chrome-plated mild steel or stainless steel headers can provide improved appearance and corrosion resistance when compared with plain steel or stainless steel options.
III. Preparation for installing headers
Before attempting to install your Honda Ridgeline headers, it’s important to take a few precautionary steps for the safe installation of your new components. Preparations for the installation will depend on the make and model of the headers you have chosen.
First, ensure that your vehicle is securely lifted and supported so that you can easily access the engine bay. Make sure all wires and components are clear of any contact points on the headers during installation. If necessary, disconnect any wiring harnesses or remove other components in order to avoid any potential damage to the header sleeves or collectors.
It’s also recommended that an oil change is performed before installing headers as remnants of used oil may become trapped in header ports when installed- this could create undue backpressure and increase engine temperature. Additionally, if you are replacing stock exhaust manifolds with aftermarket headers, it may be necessary to replace or adjust certain vacuum lines- it’s recommended to consult with a specialized mechanic before attempting this task if unsure as incorrect installation could have serious implications for your engine’s performance.
With all preparations complete and safety measures taken into account correctly, you can now begin installing your long tube Honda Ridgeline headers according to manufacturer’s instructions- you should be able to properly install these new components in no time!
Tools needed for installation
In order to complete the header installation process on your Honda Ridgeline, you will need certain tools. Depending on the type of header application, you may need additional tools; make sure you have everything on hand that you need before starting.
Basic tools for this job include a socket set, ratchet wrench and adjustable wrench. It is important to use the correct sizes for each task, so consult either a shop manual or an online forum prior to starting in order to confirm which size sockets or wrenches are needed. It is also helpful to have basic hand-held scissors and wire-cutters. Other potential tools may include Torx bits, small extension bars and a hacksaw blade.
To start, disconnect both of the negative battery terminals in order to prevent any short circuits while working; both cables should be disconnected in sequence as they are connected (i.e., replace one connection at a time). Preparatory steps should be taken before heading under the car; utilize ramps or jack stands when appropriate and pay close attention when loosening exhaust brackets for replacement of headers. Make sure to avoid over-tightening of these components during reassembly as it can cause excessive stress on the mounting points leading to possible failure down the road.
Safety precautions to take
When installing header pipes on your Honda Ridgeline, safety should be your first priority. It is important to be aware of the risks associated with working with any automotive part. Prior to starting the installation, you should make sure to take the following safety precautions:
– Wear appropriate clothing that is designed to protect against sparks and heated surfaces, including fire proof gloves, glasses and a long-sleeved shirt.
– Make sure the engine is cool before beginning work on the header pipes.
– Ensure that the area you are working in is well ventilated and follows OSHA safety standards.
– Make sure all tools used in the installation are of good quality and in good condition.
– Always keep an appropriate fire extinguisher close by when working on hot engine parts.
Removing old headers (if necessary)
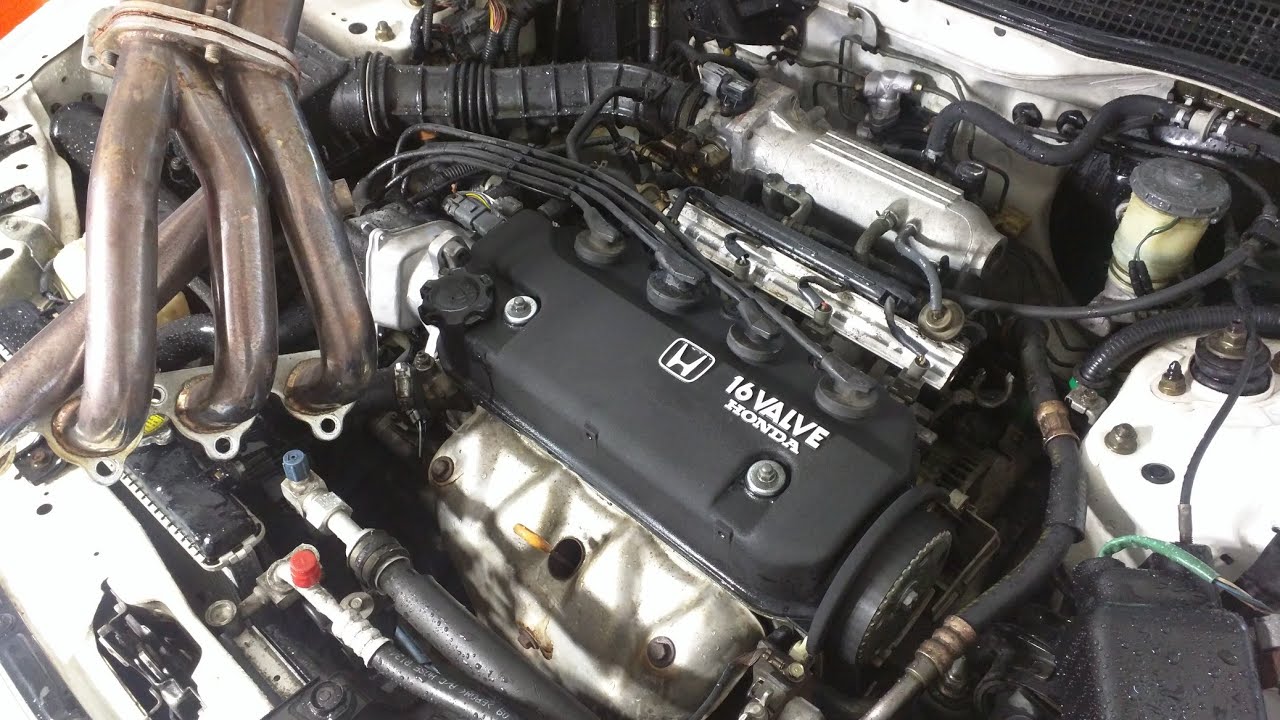
If you’re installing after-market headers on your Honda Ridgeline, the first step is to remove any existing headers. This can be a tricky process, as the Ridgeline’s tight engine compartment and placement of components makes it difficult to access the bolts connecting the existing headers to the exhaust manifold.
In order to make removal easier, use a few simple tools that you likely already have in your garage. First, make sure that you have a good quality ratchet and extension for accessing hard-to-reach bolts. Additionally, you may need an offset socket wrench for clearing obstructions such as hoses or other components of the exhaust system. A screwdriver is also essential for prying open plastic clips that secure wiring harnesses along with any other securely fastened pieces during removal. Finally, lubricating liquid spray is invaluable here—once all visible bolts are removed spray some lubricant around the pipe where it meets up with and adheres to flanges on both ends. Make sure there are no vacuum hose or wiring harnesses attached as well! This can help loosen any stuck exhaust components and make them easier to remove.
Once everything is unbolted, carefully extract old headers from your Honda Ridgeline’s engine compartment. Be sure not to accidentally damage any nearby parts and keep an eye out for sharp edge pieces that need to be tucked away somewhere safe once removed.
Before beginning installation of new headers always remember: safety first! Wrap up loose wires with electrical tape and secure them tightly before continuing with installation of your new headers so they won’t foul or interfere in any way with proper functioning of your engine once it’s back together again.
Post-installation
After all the parts are securely and properly installed, replace the negative battery cable and reconnect it to the negative terminal. This needs to be done carefully to ensure it is properly fixed.
Your next step is to start the engine and let it idle for a few minutes so that body ECUs can relearn their fuel trims.
To finish off your installation, road test your Honda Ridgeline to check for any drivability issues or sputtering noises due to air-fuel misfires or incorrect timing. Make sure you keep an eye out for these issues as they can be a result of not installing your headers correctly on your vehicle.
Be sure to re-check all connections thoroughly and make sure everything is tightened before going for a drive in order to ensure safety of yourself and others around you.
Checking for leaks
Before installing the headers, you should check for possible leaks in your existing system. To do this, warm up the engine for a few minutes and then shut it off. Check the manifold bolts for signs of leakage and replace them if necessary.
You should also inspect all the hoses for any signs of wear or damage such as cracks and tears, and replace them if necessary.
Once your existing system has been fully checked, you can move on to installing the headers.
Running the engine
Now that you have your new headers installed on your Honda Ridgeline, it’s time to start it up and see how well it runs. You will want to run the engine for 15 minutes at a time with occasional idle breaks so as not to overheat the engine.
Also, make sure to check for any leaks or unusual noises when running the engine. If you experience any problems after installation, take your vehicle to a professional mechanic who can properly diagnose and address any issues you may be experiencing.
Maintenance tips
Caring for your new headers is important in order to ensure its longevity and performance. Regular maintenance will help ensure that your Honda Ridgeline is running optimally and that the headers are at peak efficiency. Follow these steps to keep your vehicle’s engines running smoothly:
-Check for damages regularly, both the exterior of the headers and any connection points. Make sure nothing is loose, broken, or corroded.
-Consult the manufacturer’s instructions to determine what types of cleaners or polishes they recommend using on their product. This can help maintain their warranty as well.
-Inspect all connections between your exhaust pipes and headers once every 5000 miles or so. Make sure they’re properly sealed and tightened down with no leaks or rust spots visible.
-Make sure any o-rings used in installation are in good condition — replace if needed — as these small parts can cause major problems when they fail.
-Clean the outside of your engine regularly using a hot solution detergent and a soft cloth, such as microfiber, which won’t scratch the metal surfaces of your header assembly. Make sure not to use any chemical agents or hard scrubbing materials which could damage the delicate surface of the header assembly components. Wipe off all residue with a dry lint-free cloth before reinstalling everything onto your engine block under hood.
Conclusion
To wrap up, Honda Ridgeline owners should be aware that installing headers can greatly improve performance and handling. It is important to use extreme caution when handling and installing the headers.
Because of the nature of these modifications, some states may have laws against modifying the exhaust system; Honda Ridgeline drivers should check with their local authorities before making any modifications to their truck.
Additionally, you will likely need to tune your engine after installation of the headers; this ensures that all components are operating properly and safely. With proper installation, maintenance, and tuning, a Honda Ridgeline outfitted with new headers can be an incredibly powerful vehicle for carrying out any number of tasks.
FAQs
Are headers difficult to install?
The difficulty of installation depends on the specific headers and the vehicle, but it typically requires some mechanical knowledge and basic tools.
How to install exhaust headers?
Installation instructions can vary depending on the specific headers and the vehicle, but generally, it involves removing the old exhaust manifold and installing the new headers.
Do headers connect to the exhaust?
Headers are connected to the exhaust system through a flange or collector.
What do headers do?
Headers improve engine performance by allowing exhaust gases to flow more freely from each cylinder, resulting in increased horsepower and torque.
What is the disadvantage of headers?
Headers can potentially increase noise levels, cause emissions issues, and may not be legal in some areas.
Do you need to tune when installing headers?
It is recommended to retune the engine after installing headers to optimize performance.
Will headers change exhaust sound?
Headers can potentially change the exhaust sound of a vehicle, making it louder and more aggressive.
Are aftermarket headers better than stock?
Aftermarket headers are designed to improve performance and are typically better than stock headers in terms of flow and construction.
What are the benefits of exhaust headers?
The benefits of headers include improved engine performance, increased horsepower and torque, and a more aggressive exhaust sound.
Do headers waste more gas?
Headers can potentially increase fuel consumption due to increased airflow and performance, but it depends on driving habits and the specific vehicle.
See Also :
- Best brush guard for Honda Ridgeline 2023
- Best brush guard for Honda Ridgeline 2023
- Best synthetic oil for Honda Ridgeline 2023
- Best leveling kit for Honda Ridgeline 2023
- Best bug deflector for Honda Ridgeline 2023