
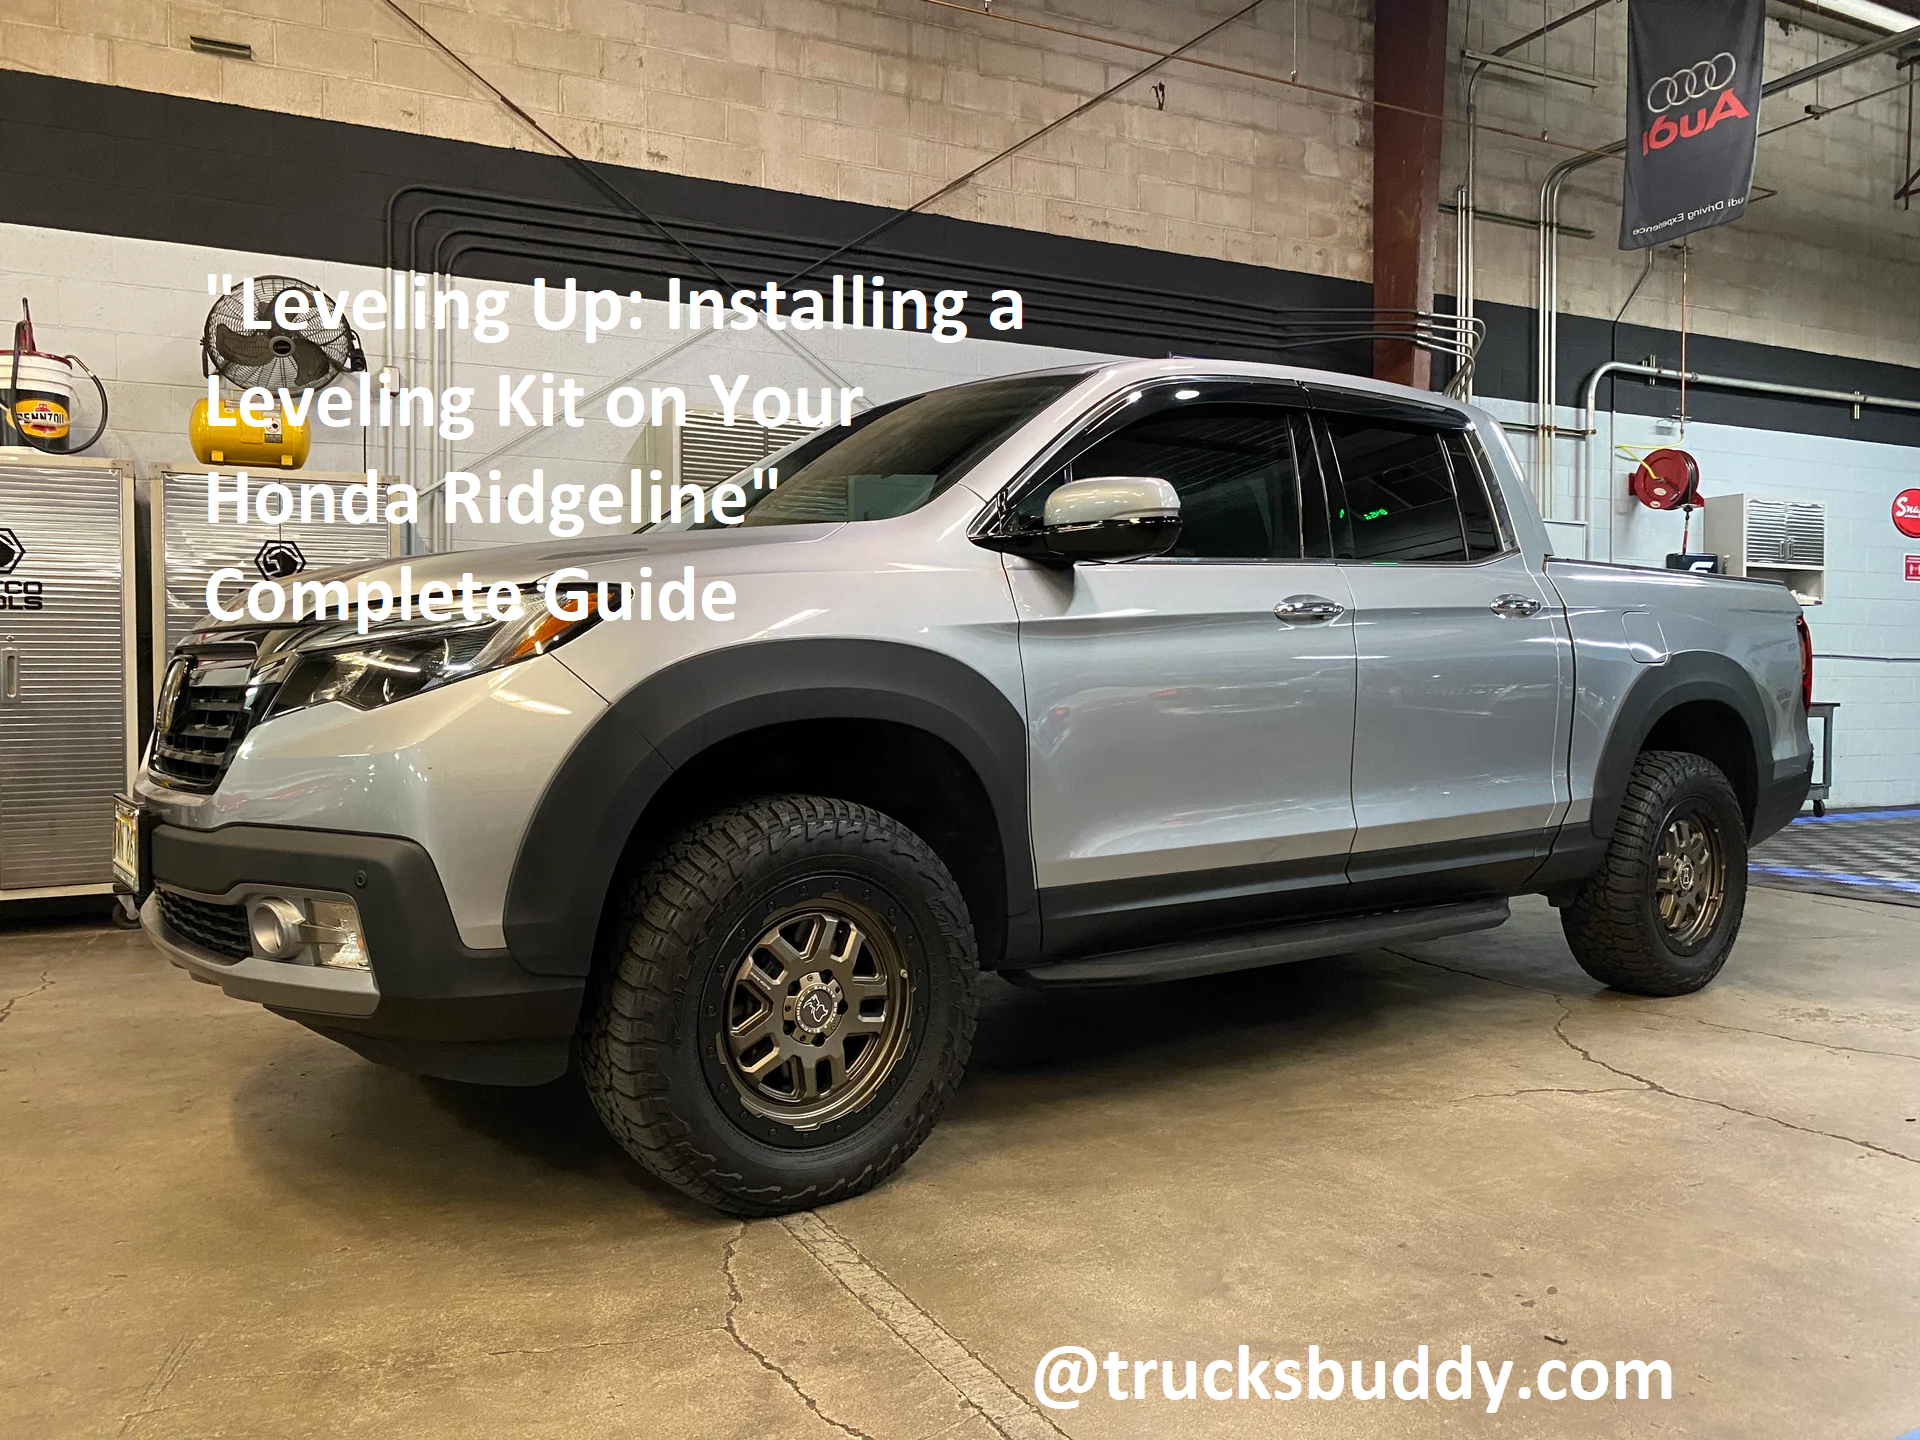
Are you frustrated with having to deal with the Honda Ridgeline’s factory ride height? With this guide, you’ll learn how to install a leveling kit, so you can enjoy improved ground clearance and an aggressive new look.
You’ll be able to tackle every terrain and enjoy a smoother ride in no time!
Installing a leveling kit on your Honda Ridgeline can improve the look of your truck and give you more clearance to install larger tires. This guide will walk you through the process of installing a Leveling Kit, detailing what you need, the installation and safety tips. With just a few tools and some time, you can easily upgrade your truck with improved performance and handling.
Whether you plan to tackle this yourself or have a professional shop do it for you, understanding the process is important in order to get the most out of your leveling kit installation. Let’s take a look at what’s involved in creating a leveled out Honda Ridgeline Truck with improved stability, performance and style.
Understanding Your Honda Ridgeline
Knowing what kind of vehicle you have and its specifications will help you determine which type of leveling kit to install. Understanding the features of your Honda Ridgeline will also ensure that you install the correct components to achieve optimum performance.
The Honda Ridgeline is a mid-size pickup truck that is well-suited to both off-roading and casual use. It comes equipped with an automatic transmissions featuring 5 or 6 speeds, depending on the year. It also has either a 3.5L V6 engine or a 3.2L V6 engine with variable cylinder management (VCM).
The Ridgeline comes standard with 4WD, in either two-wheel drive (2WD) or all-wheel drive (AWD). The suspension system consists of an independent double wishbone front suspension with stabilizer bar as well as a multi-link rear suspension with stabilizer bar. Both have separate coil springs, shock absorbers and stabilizer bars for improved control over bumps and dips in the road or uneven terrain. There are several trim levels available for the Honda Ridgeline, including: Sport, RTL/T, Touring, Black Edition and Special Edition.

Overview of the Honda Ridgeline
The Honda Ridgeline has been a dependable and versatile pickup truck since its introduction in 2006. With both 2-wheel and 4-wheel drive options, the Ridgeline offers drivers the ability to tackle various terrains with flexibility and confidence. The combination of car-like handling and pickup truck hauling capabilities make it a great choice for many buyers.
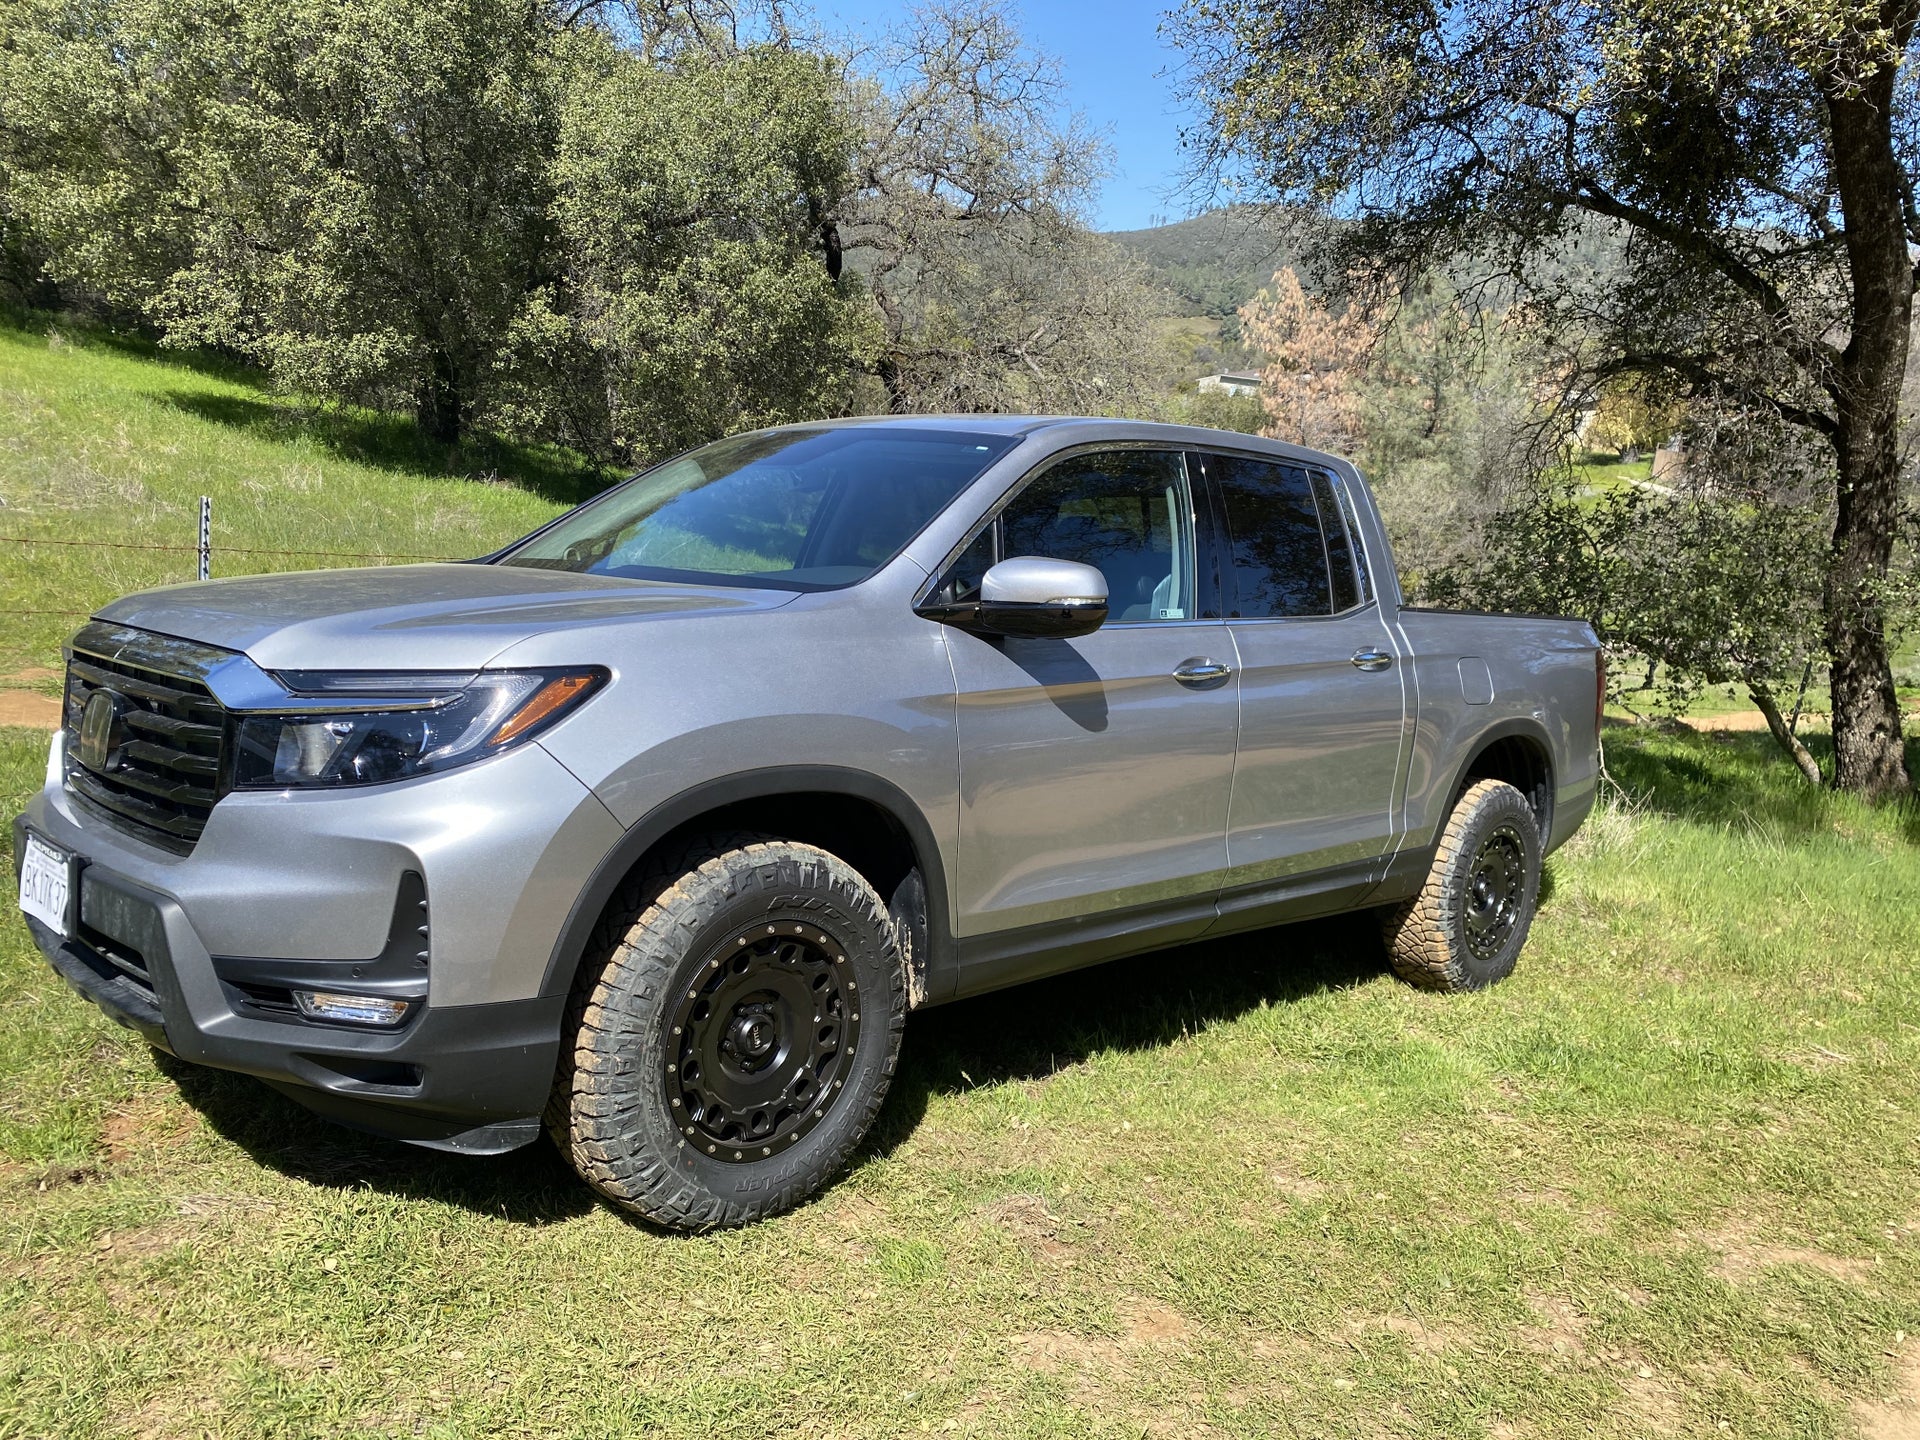
But you can take your Ridgeline’s performance to the next level by installing a leveling kit. A leveling kit will raise your vehicle’s ride height, giving you more clearance over rough terrain and improving its stability when loaded down in the back.
Keep reading to find out everything you need to know about installing a leveling kit on your Honda Ridgeline.
Identification of the current suspension system
Before attempting to install a leveling kit, it is important to identify the current suspension system used in your Honda Ridgeline. This can be determined by looking under the body of your vehicle or consulting an online repair manual.
The two types of suspension that are likely to be used are coilovers and a torsion bar. Coilovers use an internal shock absorber and spring combination, while torsion bars use a metal bar connected to two shock absorbers to provide suspension stiffness or “stiffness tuning.”
In some cases, both coilovers and torsion bars may be present in the same vehicle.
How leveling kit works with the current suspension system
In order to understand how the leveling kit affects the Ridgeline’s current suspension system, it is important to first have a basic understanding of how the suspension works on an average vehicle. Suspension systems are composed of several components, including shocks or struts, sway bars and coil springs. Together, these components work together to help you safely maintain control of your vehicle while driving over bumps and uneven terrain.
The addition of a leveling kit affects the current suspension system in a few ways. First, it helps to raise the vehicle by adding additional material between the upper strut mount and body frame or axle beam. This extra material comes in two forms: either coils that go around the existing shock absorbers or spring spacers that sit directly below them. Then, depending on what type of elevating system you opt for, this extra material may be either adjustable or non-adjustable — meaning you can easily customize your desired ride height (or adjust it back down again).
In conclusion, installing a leveling kit on your Honda Ridgeline does have an effect on its current suspension system — raising the vehicle and adjusting for better weight distribution for more improved handling. As always though, following directions correctly and reading user guides prior to installation are very important steps in order to guarantee safe driving conditions in your modified ride.
III. Choosing the Right Leveling Kit for Your Honda Ridgeline
The right leveling kit for your Honda Ridgeline will depend on the type of lift you are looking for and your budget. There are a variety of kits available that range from 1.5” to 2.5” of lift. Generally, the kits cost far less than a complete lift package, but can still provide a noticeable difference in the ride height of your truck.
Some factors to consider when choosing the right leveling kit for your Honda Ridgeline include:
- Kit Type – Depending on the make and model, there are different options available such as torsion keys or coil spacers.
- Suspension Type – Different vehicles utilize either a coilover suspension or a strut/shock combo. Be sure to select one based on your vehicle type for optimal results with your leveling kit installation.
- Brand – Leveling kits come in different price ranges and quality levels depending on their originator, so consider which brand works best for you before finalizing a choice.
- Budget – Leveling kits can range widely in price and it’s important to find one that fits within what you’re willing to spend while still giving you all the benefits you’re looking for with an installation such as increased ground clearance or improved handling power while off-roading or driving on difficult terrain.
Overview of the different types of leveling kits
Navigating the world of leveling kits for your Honda Ridgeline can seem daunting. There are many different types of leveling kits, and the best one for you may depend on your budget, desired outcomes and driving style. This guide provides a comprehensive overview of the most popular leveling kits available to make it easier for you to identify the right fit for your Ridgeline.
Leveling Kits come in two main varieties – Shackle/Bracket Kits and Coil Spring Spacers. Each has advantages and drawbacks depending on what you are trying to achieve with your kit. Shackle/Bracket Kits use brackets or other components that attach to existing suspension components while coil spring spacers sit on top of the coil springs to raise the front body end up or “level” it out with the rear of your vehicle. In both cases you will still need shocks whether they come with a kit or not as without high quality shocks, ride quality can become compromised when raising one end of a vehicle higher than the other end.
In addition to this there are also more advanced types installation methods such as Uniball control arms which provide superior performance over lower cost options but do require a more technical installation process. We will cover each these variants in more detail later in this guide so that you can find out which is best suited for your project.
Factors to consider when choosing a leveling kit
When selecting the right leveling kit for your Honda Ridgeline, there are several key factors to consider. One is the Make and Model of your vehicle, as some kits may not be compatible with certain models. Additionally, it is important to determine where you would like the additional lift to be on your vehicle: the front or rear? And how large of a lift would you like?
Another factor to take into consideration is budget – certain leveling kits come at different price points. You should also look into what type of material you would prefer in a kit: aluminum, steel or something else? And when it comes time for tightening bolts and nuts during installation, are normal tools going to be enough or will specialty tools be required?
Finally, it’s important to check whether or not any particular leveling kit changes any measurements related to the frame of your vehicle. Having even a slight decrease in axle operating angles can lead to various issues on the road such as vibrations at higher speeds that may potentially lead to shorten tire life and create more significant problems.
Therefore, if you plan on installing a leveling kit onto your Honda Ridgeline, it is recommended that you first do some research into compatible kits appropriate for your specific Make & Model of vehicle as well as consult an expert before handling any work yourself in order minimize risks and ensure that everything fits correctly.
Comparison of the top leveling kits for Honda Ridgeline
When considering a leveling kit for a Honda Ridgeline, there are several factors to consider. It is important to choose a kit that best meets the needs of your vehicle, as well as being of the highest quality. To help you make an informed decision and narrow down the choices, we’ve compared some of the top leveling kits currently available for Honda Ridgeline:
- Rough Country Leveling Kit:This kit includes two front struts and two rear shocks to provide 2 inches of lift. The struts are engineered specifically for improved ground clearance and easy installation. The high-performing suspension components also reduce unwanted body roll and increase performance handling.
- Skyjacker Leveling Kit:This leveling kit is designed to provide around 2-inches of lift up front while also helping to maintain a good ride quality with increased performance handling on off-road conditions. This kit comes with heavier sway bar links, shock extenders and hardware necessary for installation.
- Pedders Suspension Levelling Kit:The Pedders Suspension Levelling Kit gives the edges you need without having to resort to bodylifting. Included in this package is two Nitro Adjustable Load Assist shock absorbers, along with front strut spacers that provide between 1 and 3 inches lift for more clearance of your underbody components such as skid plates or rock rails.
- Superlift Front Leveling Strut Spacer System: This system includes one pair of tall coil spring spacers combined with highly-developed nitrogen gas strut cartridges each providing up to 2 inches additional ride height along with better stability at higher speeds while on flat or rough trails.
Preparing for Installation
Before installation can begin, it is important to properly prepare the environment and the vehicle. Before beginning your progress, make sure to gather all of the necessary tools and equipment you need to get the job done safely. You will also want to check the weather forecast and choose a day or evening that is expected to be dry so that you won’t have any problems with wet conditions interfering with your work.
Once you have obtained all of these components, there are some important steps that must be taken prior to installation. Begin by thoroughly cleaning your Ridgeline to remove any dust or debris from underneath or around it that could eventually interfere with the quality of your work. Additionally, loosen all lug nuts on each tire so that you can easily remove them when ready for installation; however, do not completely remove them at this time as you will need them later on in order to safely secure your tires back onto your vehicle.
Depending upon your chosen kit, some additional preparation may be required such as painting parts before they are installed or transferring components from one area of your car to another before they can be removed in order to access other parts beneath them. Refer carefully to instructions provided by the manufacturer in order ensure proper preparation prior to beginning the actual installation process.
Safety precautions to take before installation
A leveling kit installation on your Honda Ridgeline is a relatively simple process if you are familiar with removing and replacing suspension components, but should always be done with extreme caution. Safety should be your number one priority when undertaking any task associated with car suspension modification, so it’s important to go over a few key safety points before beginning this job.
First and foremost, make sure that your Honda Ridgeline is on a flat surface while you work on it. This will help ensure that the new parts are installed level and also give you more stable footing while working underneath the vehicle. A jack stand should also be in place at all times to support the vehicle in case of slipping or slipping tools — never depend solely on a jack to prevent the vehicle from tipping over. Make sure to use appropriate hand tools for each job; power tools may cause damage or even malfunction in some critical areas. If an area seems too cramped for safe access, it’s best to check with an automotive shop before continuing. Lastly, never work under the vehicle without eye protection.
Tools and equipment needed for installation
Installing a leveling kit on your Honda Ridgeline is relatively straightforward. However, as you will be lifting and modifying your vehicle, it is important that you have the appropriate tools and equipment necessary for the job. To install a leveling kit successfully, you will need the following tools and equipment:
- Automotive jack and jack stands: You will need to safely lift your Ridgeline in order to install a leveling kit; an automotive jack and some durable jack stands are necessary for raising your vehicle off of the ground.
- Torque wrench: Using a precise torque wrench is critical when tightening wide variety of nuts and bolts during installation of the leveling kit — especially when dealing with suspension components.
- Socket set: Depending on your particular model of Honda Ridgeline, a variety of sockets sizes may be needed during installation — from 10mm to 21mm are common.
- Screwdriver set: Installing shims or other components may require use of both flathead as well as Phillips-head screwdrivers.
- Lubricant (such as spray lubricant or penetrating oil): Grease or lubricant should always be used when dealing with suspension parts where metal meets metal — especially thread locker paste can help reduce rattles resulting from movement in such components.
Steps to prepare your Honda Ridgeline for installation
Prior to starting the installation process, there are some steps you should take in order to safely prepare your Honda Ridgeline for the leveling kit installation.
- Locate the vehicle lift points on your Honda Ridgeline and use a floor jack with a pressure pad to lift up each side. Make sure the pressure pad is properly secured under the frame before you start raising and lowering your vehicle.
- Remove any components that may interfere with installing or using the leveling kit, including shock towers, calipers, brackets, and endlinks.
- Measure and record ride height around each wheel so that you can double check it throughout the installation process and upon finishing for accuracy purposes.
- With a socket wrench or torque wrench, loosen all lug nuts from each wheel before jacking up your Honda Ridgeline to prevent potential problems when it’s time to lower it later on in the installation process.
5 Remove all four wheels from the vehicle one by one making sure that all of them have been safely removed and placed out of harm’s way afterwards.
Conclusion
Installing a leveling kit on your Honda Ridgeline is an easy and worthwhile upgrade. Leveling kits are easy to install as they typically include all the necessary components, however, professionals may be needed for a few specialized steps such as aligning and lifting the suspension or for any customization work you’d like to add.
The benefits offer convenience and improved off-road driving capabilities that come with having the extra ground clearance, wider tire stance and improved handling from adjusting your truck’s suspension geometry with a level kit.
Overall, if you’re looking to improve your ride quality and performance, whether it’s for looks or enhanced capability off-road, installing a leveling kit on your Honda Ridgeline is an affordable upgrade that will bring you plenty of enjoyment — just be sure to follow the instructions closely and observe any weight limits when selecting components!
FAQs
Can you put a leveling kit on a Honda Ridgeline?
Yes, it is possible to install a leveling kit on a Honda Ridgeline.
Can I install a leveling kit myself?
If you have the necessary tools and mechanical skills, it is possible to install a leveling kit yourself. However, it’s recommended to have it installed by a professional to ensure it’s done correctly.
Do I need new shocks with a 2 inch leveling kit?
Depending on the make and model of your truck, it may be recommended to install new shocks with a 2 inch leveling kit to maintain optimal performance.
What are the pros and cons of a leveling kit?
Pros of a leveling kit include improved ground clearance and the ability to install larger tires. Cons can include a stiffer ride and potential for premature wear on suspension components.
Does a leveling kit affect driving?
A leveling kit can affect driving by altering the vehicle’s center of gravity and potentially affecting handling and stability.
Does a leveling kit affect your truck?
A leveling kit can affect your truck by altering the suspension geometry, potentially causing premature wear on suspension components.
How much do people charge to install a leveling kit?
The cost of installing a leveling kit can vary depending on the make and model of your truck, as well as the location and experience of the installer. It can range from a few hundred dollars to over a thousand dollars.
Do leveling kits wear out ball joints?
Installing a leveling kit can potentially cause premature wear on ball joints and other suspension components, especially if the kit is not installed correctly or the truck is not properly aligned afterwards.
What is the average cost to install a leveling kit?
The average cost to install a leveling kit can vary, but it typically ranges from $300 to $500 for parts and labor.
Does a leveling kit just go on the front?
A leveling kit can be installed on just the front or rear of the truck, or on both. However, most leveling kits are installed on the front to level the truck’s stance.
See Also :
- Best 4 inch lift kit for Honda Ridgeline 2023
- Best tailgate assist for Honda Ridgeline 2023
- Best shocks for Honda Ridgeline 2023
- Best fender flares for Honda Ridgeline 2023
- Best truck tent for Honda Ridgeline 2023